
Our Montessori daycare recently implemented a new policy requesting zippered tote bags instead of backpacks. The reason? The wide opening makes it easier for toddlers to independently get their items in and out at the beginning and end of the school day — which I honestly love. Independence is such a core part of Montessori.
Keep reading for links to my products and instructions to execute the perfect bag!


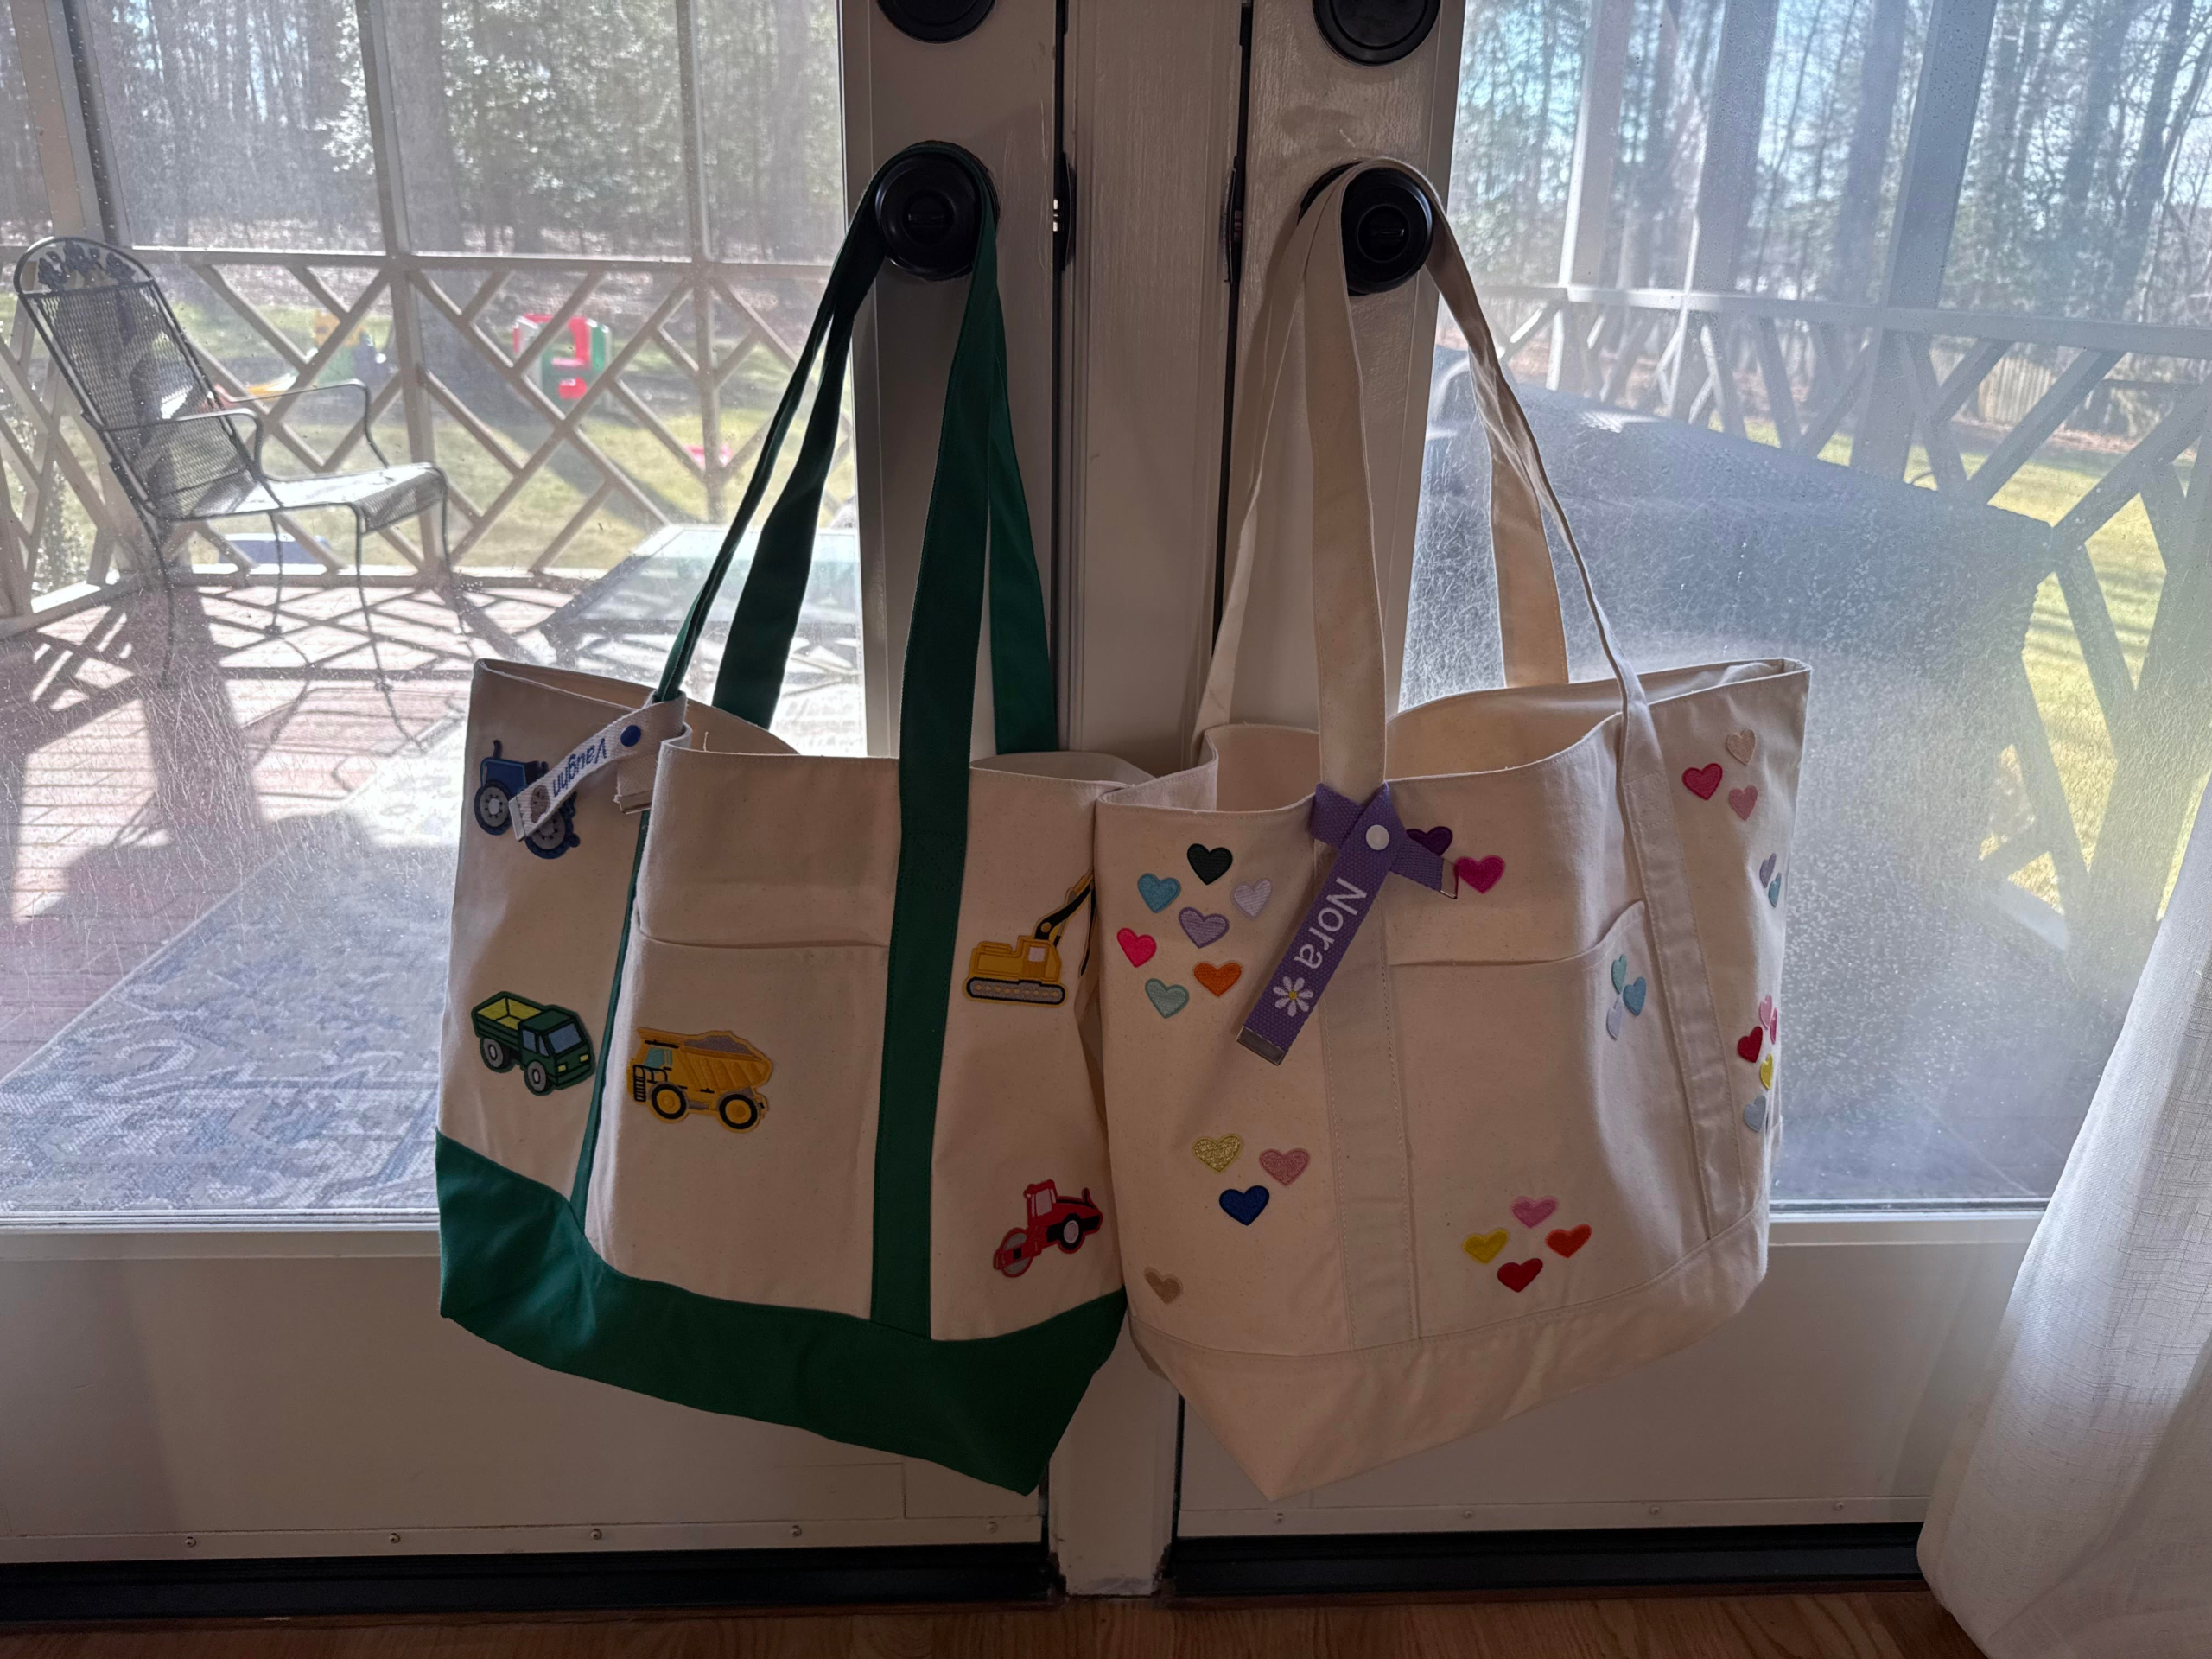
They offer a standard school tote, but I wanted to make something a little more fun and individualized for my kids.
So I started by searching for (LINKS INCLUDED!):
- A durable, well-rated (but still affordable) zipper canvas tote — because let’s be real, these bags get dragged.
- A variety of iron-on patches that matched each of my kids’ interests
- Trucks for my son
- Heart minis for my daughter
- You could easily add letters for their name as well!
These were SO fun to make. It’s such a simple project, but it allows your kids to have input and feel ownership over something they use every single day.
And honestly? These aren’t just great for school. They’d be perfect for travel activity bags, party favors, bachelorette weekends, or even little gift totes.
Practical. Personal. And way cuter than the standard option.

How to:
Step 1- Prep the tote: Empty it. Slide a piece of cardboard in-between the layers you are starting with first. Lay it on a firm surface. Tip: don’t forget to place the cardboard between the tote’s front pocket or it will get sealed shut!
Step 2- Heat the iron: Set to Cotton / High heat and turn steam OFF (no water, no steam bursts).
Step 3- Place and Cover: Place your patch where you’d like it with cardboard beneath the layer and cover it with parchment paper or a thin cotton cloth
Step 4- Press and hold: Press down and hold firmly for 20-30 seconds.
Step 5- Let it cool: Let the patch cool completely before handling